Attic Hatch Insulation: Why It Matters and How to Do It Right
When it comes to insulating your attic, most homeowners focus on insulating the attic floor and walls while overlooking a crucial component—the attic hatch.
When it comes to insulating your attic, most homeowners focus on insulating the attic floor and walls while overlooking a crucial component—the attic hatch. A poorly insulated attic hatch can lead to significant heat loss in the winter and heat gain in the summer, making your home less energy-efficient. In this guide, we’ll explore why attic hatch insulation matters and how you can effectively insulate this often-overlooked area.
Why Attic Hatch Insulation Matters
1. Energy Efficiency
Attic hatches are a common source of air leaks. When left uninsulated or improperly sealed, warm air escapes in the winter, forcing your heating system to work harder. Likewise, in the summer, hot attic air seeps into your home, increasing cooling costs. Proper insulation reduces energy waste and keeps your home comfortable year-round.
2. Cost Savings
By sealing and insulating your attic hatch, you can lower your energy bills. The U.S. Department of Energy estimates that air leaks account for up to 30% of energy losses in homes. Proper attic hatch insulation minimizes these losses and helps reduce utility costs.
3. Improved Comfort
Have you ever noticed drafts near your attic access? Uninsulated hatches allow cold or hot air to seep through, creating temperature inconsistencies in your home. Insulating the hatch ensures a more even indoor temperature, enhancing overall comfort.
4. Moisture Prevention
Gaps around the attic hatch allow humid air from living spaces to enter the attic. This moisture can condense on cold surfaces, leading to mold growth and potential damage to attic structures. A well-sealed attic hatch prevents moisture issues.
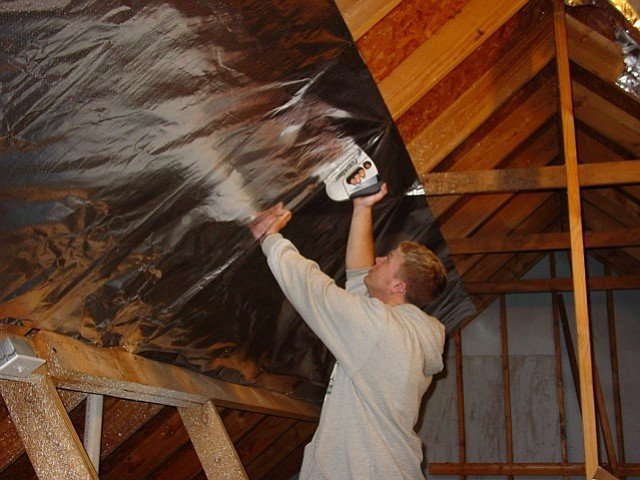
How to Properly Insulate an Attic Hatch
Step 1: Choose the Right Insulation Material
Different types of insulation materials can be used for attic hatches:
-
Rigid Foam Board: Lightweight, effective, and easy to install.
-
Fiberglass Batt Insulation: A cost-effective option that provides excellent thermal resistance.
-
Spray Foam Insulation: Offers superior air-sealing capabilities but may require professional installation.
Step 2: Seal Air Leaks
Before adding insulation, it’s crucial to seal any gaps around the attic hatch. Use weatherstripping or foam tape around the perimeter of the hatch to create an airtight seal. For larger gaps, apply caulk or spray foam to prevent drafts.
Step 3: Cut and Attach Insulation
If using rigid foam board or fiberglass batts, cut the insulation to match the dimensions of the attic hatch door. Secure the insulation to the top side of the hatch using adhesive or fasteners to ensure it stays in place.
Step 4: Install an Insulated Cover
For extra efficiency, consider an insulated attic hatch cover. These pre-made covers fit over your attic entrance, providing an additional layer of thermal protection.
Step 5: Check and Maintain
Regularly inspect the attic hatch insulation for wear and tear. Replace weatherstripping if it loses its effectiveness and reapply insulation if necessary to maintain energy efficiency.
Conclusion
Attic hatch insulation is a simple yet highly effective way to improve your home’s energy efficiency, reduce utility bills, and enhance comfort. By sealing air leaks and installing proper insulation, you can prevent heat loss, maintain consistent indoor temperatures, and protect your home from moisture damage.
If you need professional assistance with attic insulation, contact West Covina Attic Insulation. Our team of experts can help you achieve a well-insulated home for year-round comfort and savings!
What's Your Reaction?