Capturing the Perfect Sunset at Sky View Observatory
The Sky View Observatory, with its panoramic views and elevated perspective, is a prime location for capturing stunning sunset photos.
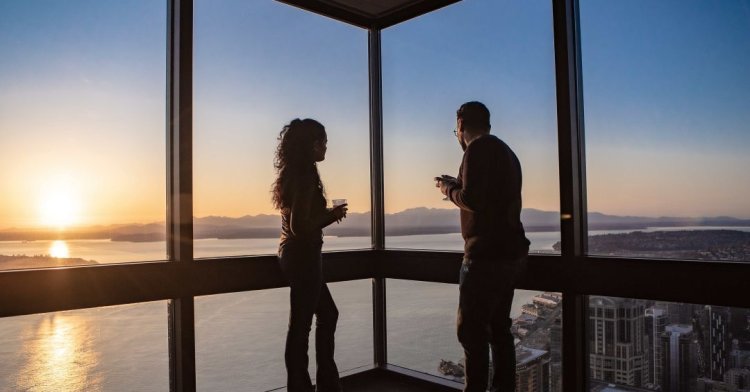
Sunset photography is a captivating and rewarding pursuit, offering vibrant colors, dynamic lighting, and breathtaking scenery. The Sky View Observatory, with its panoramic views and elevated perspective, is a prime location for capturing stunning sunset photos. Whether you are a novice photographer or simply looking to improve your skills, this guide will provide you with essential tips to capture the perfect sunset at Sky View Observatory.
1. Plan Ahead for the Best Results
Timing Is Everything
The key to a perfect sunset photograph lies in the timing. Arrive at the observatory at least an hour before the sunset. This allows you to scout for the best vantage points, set up your equipment, and capture the changing light conditions during the golden hour – the period shortly before sunset when the lighting is soft and warm.
Check the Weather
Clear skies or partially cloudy conditions often yield the best sunsets. Clouds can add texture and drama to your photos, but too many clouds might obscure the sun. Check the weather forecast to ensure optimal shooting conditions.
Know the Sunset Time
Sunset times vary depending on the season and location. Use apps or websites that provide accurate sunset times for your area. This information will help you plan your shoot and ensure you don't miss the critical moment.
2. Choose the Right Equipment
Camera and Lenses
While professional cameras offer more control and higher image quality, modern smartphones also have advanced camera capabilities that can produce impressive results. If you have access to a DSLR or mirrorless camera, consider using lenses with different focal lengths to capture a variety of shots. A wide-angle lens is great for capturing the entire scene, while a telephoto lens can help you focus on specific details.
Tripod
A sturdy tripod is essential for sunset photography, especially as the light fades. It helps stabilize your camera, allowing for longer exposure times without introducing blur. Look for a lightweight and portable tripod if you plan to move around frequently.
Filters
Neutral density (ND) filters and graduated ND filters can be useful in managing the exposure of bright skies and darker foregrounds. These filters help balance the light, allowing for more detail in your sunset photos.
3. Master Your Camera Settings
Manual Mode
Shooting in manual mode gives you complete control over your camera settings. This is particularly important during sunset when lighting conditions change rapidly. Familiarize yourself with adjusting the aperture, shutter speed, and ISO settings to achieve the desired exposure.
Aperture
A narrow aperture (high f-stop number) increases the depth of field, ensuring that both the foreground and background are in focus. However, during low light conditions, you may need to widen the aperture (lower f-stop number) to allow more light into the camera.
Shutter Speed
A slower shutter speed can capture more light and create a smooth, silky effect on moving elements like clouds or water. However, be cautious of using too slow a shutter speed without a tripod, as it can result in blurry images.
ISO
Keep your ISO as low as possible to minimize noise in your photos. If the light is too low, you can gradually increase the ISO, but be aware that higher ISO settings can introduce graininess.
4. Compose Your Shots Thoughtfully
Rule of Thirds
The rule of thirds is a fundamental principle in photography that involves dividing your frame into nine equal parts using two horizontal and two vertical lines. Position key elements of your scene along these lines or at their intersections to create a balanced and engaging composition.
Leading Lines
Incorporate natural or architectural lines in your composition to guide the viewer's eye toward the main subject, such as the setting sun. Roads, fences, and shorelines are examples of leading lines that can add depth and interest to your photos.
Foreground Interest
Adding elements in the foreground can create a sense of scale and depth in your sunset photos. Look for interesting features such as rocks, trees, or buildings that can complement the sunset and enhance the overall composition.
Horizon Placement
Consider the placement of the horizon in your frame. A lower horizon emphasizes the sky and the vibrant colors of the sunset, while a higher horizon highlights the foreground and landscape. Experiment with different placements to see what works best for your scene.
5. Capture the Changing Light
Golden Hour
The golden hour, which occurs shortly before sunset, offers warm, soft lighting that is flattering for landscapes and portraits. Use this time to capture the landscape bathed in a golden glow.
Blue Hour
The blue hour occurs shortly after sunset, providing a brief period of twilight with a soft, cool blue light. This can create a serene and mystical atmosphere in your photos. Keep shooting through this period to capture the transition from day to night.
Bracketing
Bracketing involves taking multiple shots of the same scene at different exposures. This technique is particularly useful for sunset photography, where the dynamic range of light can be challenging to capture in a single shot. Later, you can blend these images in post-processing to achieve a well-balanced exposure.
6. Experiment with Creative Techniques
Silhouettes
Silhouettes can add drama and intrigue to your sunset photos. Position a subject, such as a person or an object, against the bright background of the setting sun. Ensure the subject is in sharp focus while underexposing the shot to create a striking silhouette.
Reflections
Look for bodies of water or reflective surfaces that can mirror the sunset. Reflections can add symmetry and a unique perspective to your photos. Experiment with different angles to capture the perfect reflection.
Long Exposure
Using a long exposure can create beautiful, ethereal effects in your sunset photos. Smooth out the motion of water or clouds to add a dreamy quality to the scene. Remember to use a tripod to keep your camera steady during long exposures.
7. Post-Processing Tips
Enhance Colors
In post-processing, you can enhance the colors of your sunset photos to make them more vibrant and impactful. Adjust the saturation and vibrance settings to bring out the rich hues of the sky.
Balance Exposure
Use tools like the histogram to ensure your image has a balanced exposure. Adjust the shadows, highlights, and midtones to reveal details in both the bright and dark areas of your photo.
Remove Noise
If you had to increase your ISO to capture the sunset, you might notice some noise in your photos. Use noise reduction tools in your editing software to clean up your images and maintain quality.
Crop and Straighten
Cropping can help you refine your composition and remove any distracting elements. Additionally, ensure your horizon is straight for a professional-looking photo.
8. Practice and Patience
Sunset photography requires practice and patience. Each sunset is unique, offering different colors, cloud formations, and lighting conditions. Don't get discouraged if your first attempts don't turn out as expected. Keep experimenting with different techniques and compositions, and you'll gradually improve your skills.
Conclusion
Capturing the perfect sunset at Sky View Observatory is a rewarding experience for amateur photographers. By planning ahead, choosing the right equipment, mastering your camera settings, and composing your shots thoughtfully, you can create stunning sunset photos that capture the beauty and magic of this natural phenomenon. Remember to experiment with creative techniques and practice regularly to refine your skills. With patience and persistence, you'll be able to capture breathtaking sunsets that you'll cherish for years to come.
What's Your Reaction?


![Wireless Connectivity Software Market Size, Share | Statistics [2032]](https://handyclassified.com/uploads/images/202404/image_100x75_661f3be896033.jpg)


